Friday, January 11, 2013

Lagoon & Cocoa Cards and Portfolio


Here is a set of cards I recently made for my neighbor. She wanted some gifts for some special friends. Artiste and Art Philosophy Cricut Carts and CTMH coordinating stamps and embellishments made creating these cards so easy!

The Happy Birthday and You Touch So Many Lives cards are swing cards from p. 52 Accent 1. The swing card layer shapes are from Art Philosophy p. 62 oval 5 and p. 67 shape 10 respectively. For both cards I cut 1 shape slightly smaller in daisy white for the inside sentiment. Also, to help me with the stamping, I cut my shapes a bit bigger than the stamp set suggests. This gives me a bit more wiggle room. The sweet little bow is one of my favorites! It is found on Artiste page 55, Accent 3.

The third card is also from Artiste (p. 49) and I added the layer on the belly band. The card was embossed using a Sizzix embossing folder and my Bigshot! A quick sanding with the CTMH sanding block and the embossing really popped!

 Just Blooms Paper Shapes

Take a closer look at the Just Bloom Paper Shapes (Z1709 & Z1710). I love how CTMH has matching & ink able paper shapes. The lagoon flowers were ready to go but I did lightly sponge the small butterfly to show the texture on the wings. A few brads helped to put the flowers together. These were adhered with Liquid Glass which is a great thick glue that can hold heavy pieces. In the lower corner you can see some more embossing. This is another Sizzix folder with sweet flowers. In the photo below you can see the inside of the card. Again I lightly sanded the embossing to have our white core show through.


Another look at the set

The Hello card was made by hand with the "Hello" and swish cut using the Cricut. The swish came from the Art Philosophy cartridge p.60 font layer. The flowers were stamped and cut out by hand. The card base was embossed using a Cuttlebug folder. The corners were rounded with our punch.

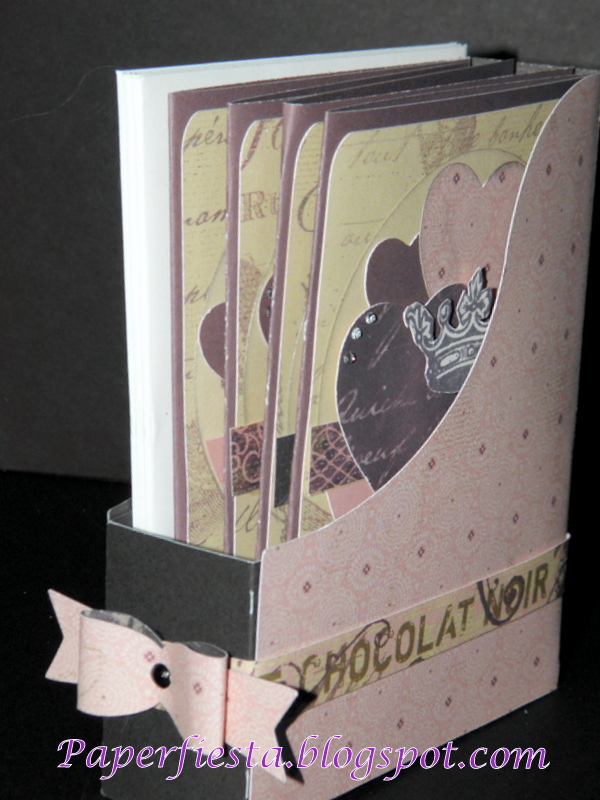
The folio was a simple sheet of card stock embossed, scored and folded. You can find the tutorial video for this fast folio here. This one is by Dannie Graves and she does a great job of explaining how to make this. I didn't use any ribbon on mine. I only used brads to hold my pockets. But the process is the same. That's why I love crafting! You start with one idea and can make it your own. 

Thanks for stoping by and seeing my card sets. Take a minute to join my blog and my Facebook page so you don't miss out on any projects.  I'll be posting more card sets soon using Green and Plum. Come back and check them out! 
Also, if you are interested in trying out Close to My Heart products, I'd love to be your consultant! I'm here to help you get the most out of your supplies and materials. No matter if you live in South Texas or  Alaska, I'm an email with help and support.

Make every day a Fiesta with paper!
~Sharon


Tuesday, January 1, 2013

La Belle Vie Diva Blog Hop

La Belle Vie Damask Diva Blog Hop

Thanks for joining me after visiting Diahana Barnes's blog. Her thank you card was so pretty! 

There can be no better way to ring in the new year than with a bit of romance and sophistication! That is exactly what La Belle Vie background and texture paper adds to any crafting project. I've found so many uses for this paper pack. From using the pink dotted sheet for shoes and dresses to adding a dark contrast with the black flowered sheet. And if you love the Paris decor trend, then this paper pack is for you!


Hearts and Crowns Card Set

 Using both CTMH exclusive Cricut cartridges, Artiste and Art Philosophy, I created this set of 4 cards and magazine box. These cards may look familiar...and they should! You can find similar cards on page 40 of the current IDEA Book. Mine are 3x4 and are portrait oriented. I varied each card just a little by changing the sentiment and location. The magazine box bottom was cut from black card stock and the side and bow from the pink paper. Due to the smaller card size I cut the box smaller. I was hoping I could tell you the cut size but I didn't save it in Cricut Craft Room-bummer:(
The card smokey plum bases were cut by hand but the hears were cut using Art Philosophy. As was the background paper. I used the zip strips to add a ribbon across 3 cards and the box. They come in so handy for this! To give it more dimension I folded some of the strips as I glued them down. you can see that on the Vivre card below.
Card box and 2 cards 

The crowns on the card were stamped on the background paper so the swirls would show. The crown you see is cut out and adhered with foam tape so it pops a bit from the card. The front bow is one of my favorite cuts from the Artiste and can be found on page 55.


Stunning and so simple!


I couldn't believe it when I saw this fancy cut card in Artiste!(p.78, Accent 4). I used Cricut Craft Room so I could layer a frame from Art Philosophy in the center circle. Then I stamped the image on the pink dotted paper and an additional butterfly. I simply cut out the stamped image and glued it on the dark plumb paper and hand trimmed leaving an equal border. Then glued the butterfly body on top of the butterfly image and folded the wings up. I cut a 2-3 inch length of black tulle and tied it in the center with string, fanning the ends out. Using hot glue I glued the tulle to the base and the stamped image I popped up with foam tape. I also added a sparkle to the card to finish it off a bit. This is a stunning card in person but it is bulky so it will definitely be hand delivered.

Happy New Year to all of you crafters out there! And many blessing for 2013.  We are so glad you hopped in to see our projects. If you missed any or just want to hop back through again click here and return to the original Damask Diva and our team leader, Mandy Leahy! Don't forget to visit our Damask Diva team page for a chance at the hop GIVEAWAY sponsored by Melissa Lind.